I installed a Waeco 12V CR110 fridge to replace the original
Dometic 90 litre 3way fridge in our Goldstream camper, then
needed to install a second 120Ah AGM battery to cover the
expected 70 Amp hour power consumption of the fridge and lights
etc in hot weather.
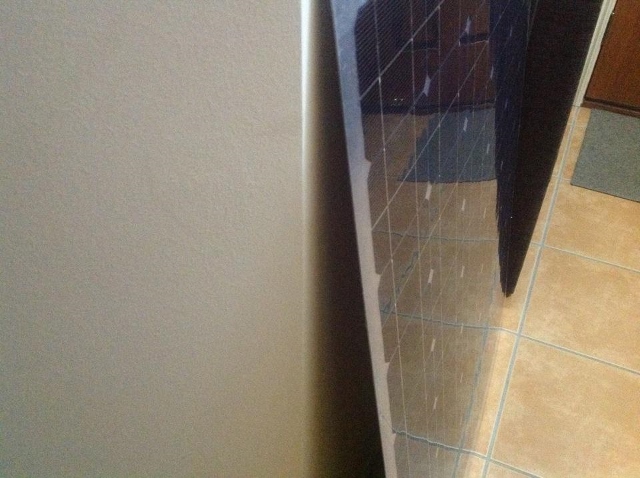
Our 110 Watt folding solar
panel had nowhere near the capacity to keep both batteries
charged, so I decided to buy a 120 Watt flexible solar panel and
glue it to the roof of the camper. The panel is a mono type and
comes out of China costing $300. It measures1060 x 800 x 3mm
thick with an aluminium sheet backing and weighs around 3kg.
After getting the panel I
had to go away with work for a month and during that time
thought long and hard about mounting the panel on the roof. In
the end I decided this was not a good idea, as it meant we could
not set the camper up in the shade. The panel would also only
have a good angle to the sun for a few hours each day, when we
really needed the maximum input from both panels.
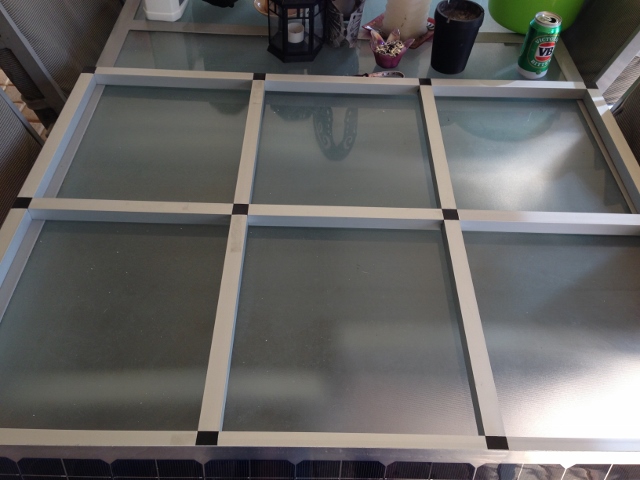
I came up with the idea to
make a frame for the panel so it could be used just like a
standard portable panel. I drew a diagram of what I wanted the
frame to look like and carefully worked out the sizes needed,
making the frame just slightly larger than the panel as it has
sharp edges.
Then it was off to
Bunnings to get some Connect-It 25mm square aluminium tubing and
plastic connectors. Of course they don’t come in the lengths I
needed so the tubing had to be measured and cut with a metal
cutoff saw, which I just happened to have in the shed. Luckily
wastage was not huge, as this stuff is not all that cheap
costing around $150 for tubing and connectors. It all went
together very easily with the help of a rubber mallet and is
also very light and strong.
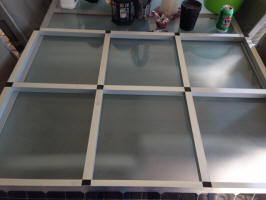
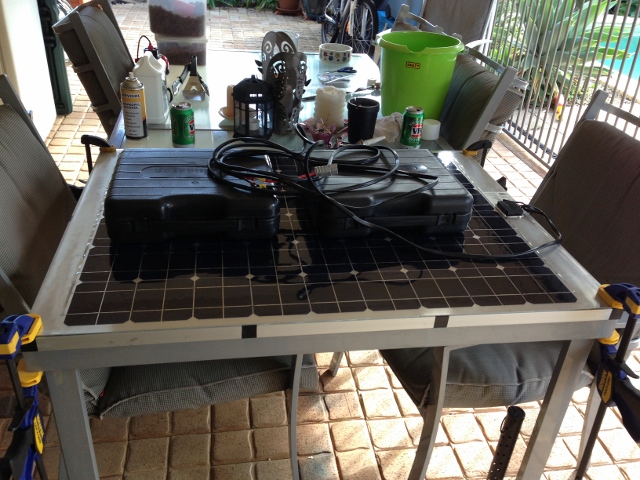
Both the frame and back of
the solar panel were cleaned up so there was no dirt or oil on
them and one side of the frame coated with marine Sikaflex
adhesive. The panel was dropped onto the frame and clamped down
with a little weight applied to the middle of the panel and left
for 24 hours to cure.
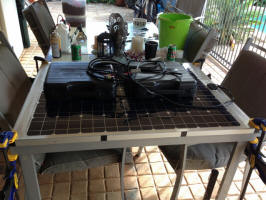
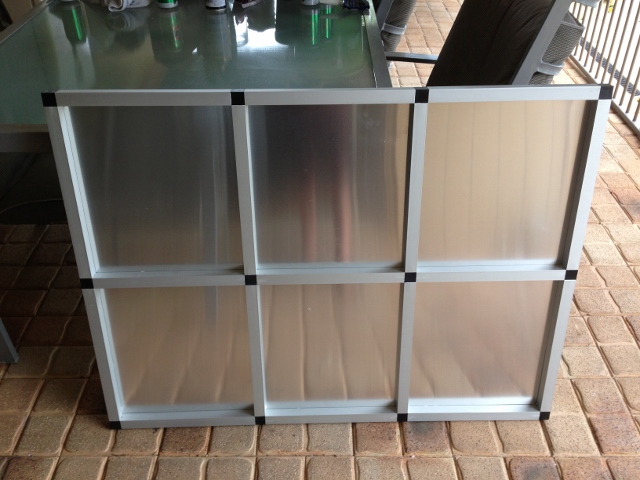
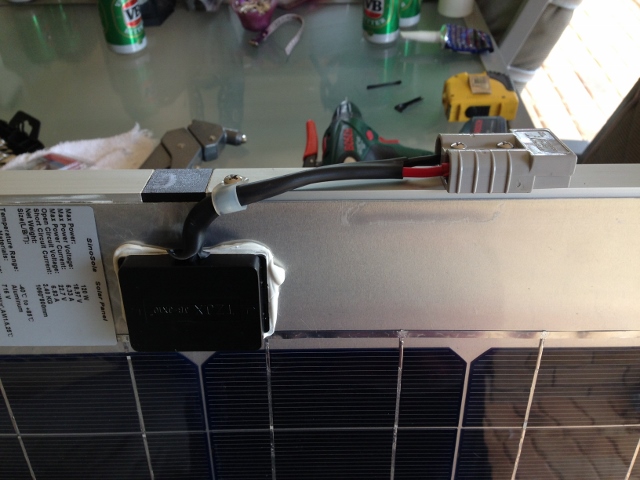
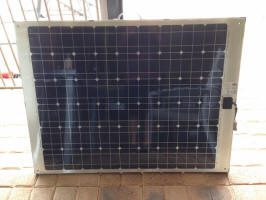
The back of the panel after the adhesive
has cured.
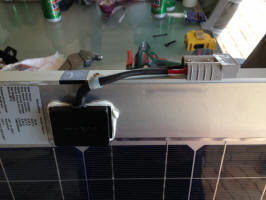
The 4.6 sq mm twin cable
connects to the rather small front mounted junction box and
terminated with an Anderson plug screwed to the side of the
frame. A 10 metre lead connects this to the camper solar input
Anderson plug.
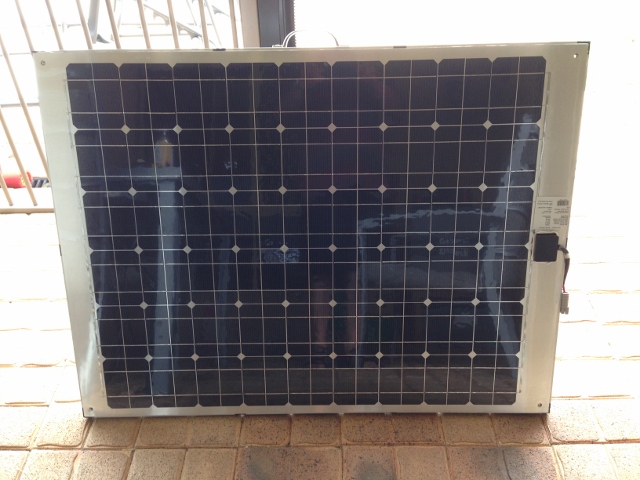
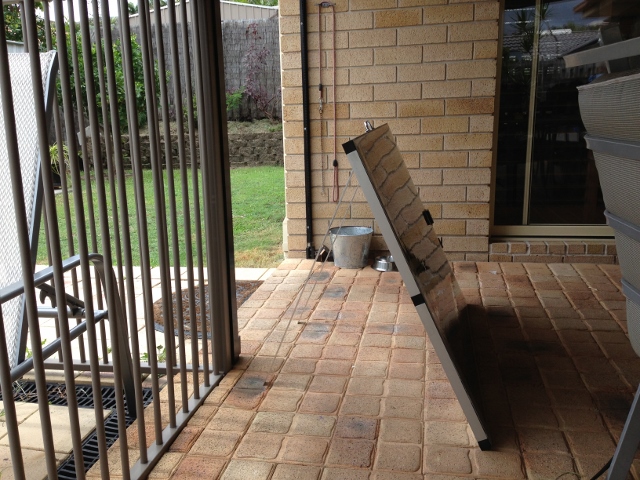
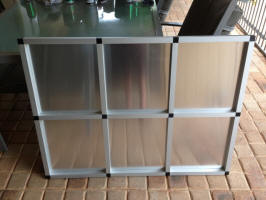
The finished panel
Stainless steel hinges are
attached and legs made from 25 x 3mm aluminium riveted to the
hinges. I have also drilled a 5mm hole near the bottom of each
leg to put tent pegs through if the panel looks like being blown
over in strong winds. A handle is also riveted to the top of the
panel for easy carrying.

The panel does not have a
regulator mounted as I believe the regulator should be as close
as possible to the batteries to reduce voltage drop. The panel
has direct connection to the Redarc BCDC1225 with its inbuilt
MPPT solar regulator. With the panel angled towards the sun it
produces 7 to 8 Ah which is quite good.
The whole panel weighs
less than 5kg and is far lighter than the 15kg of the 110Watt
folding panels we have. All up its probably not worth the
expense of doing this but I had the panel and wanted to make
better use of it.
If I were to do it again I
think I would get two or three 50 Watt panels of this type and
make up a frame so it was in effect a folding system which would
take less space and weigh even less.
thanks to Kevin Beckwith for this article
march 2013