|
lighting
upgrade
goldstream wing 3
The existing internal lights were fluorescent and incandescent
globes. The single external awning light was also a 12Watt
incandescent standard auto globe. Fortunately the tail and clearance
lights on the camper were already LED so was only the lighting which
needed looking at. The existing light wiring was adequate so was not
altered in any way. A bit of looking around on the internet found
the parts I needed.
 |
 |
 |
|
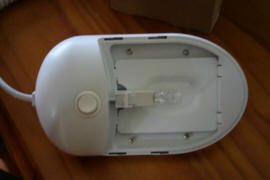
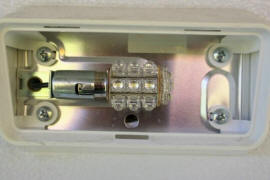
Existing bed
lights minus diffuser |
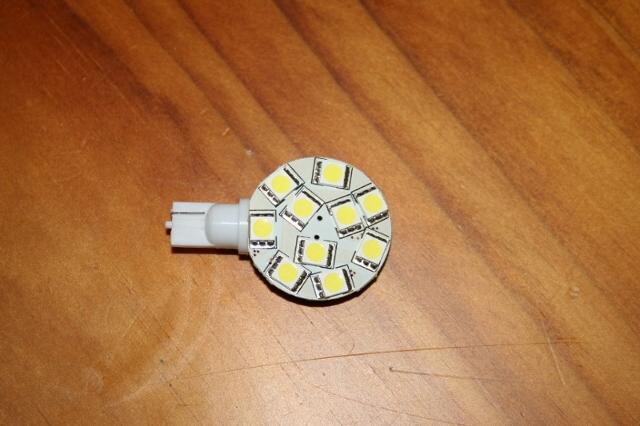
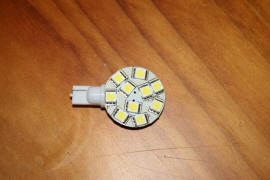
LED wedge
style LED replacement globe
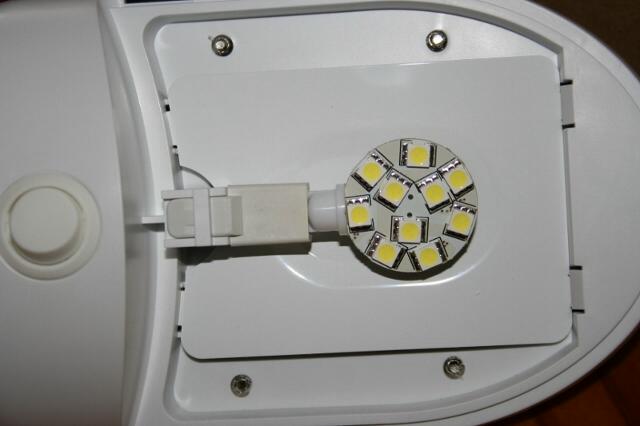
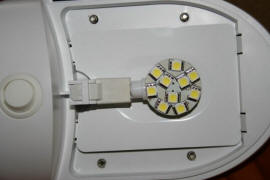
|
LED installed |
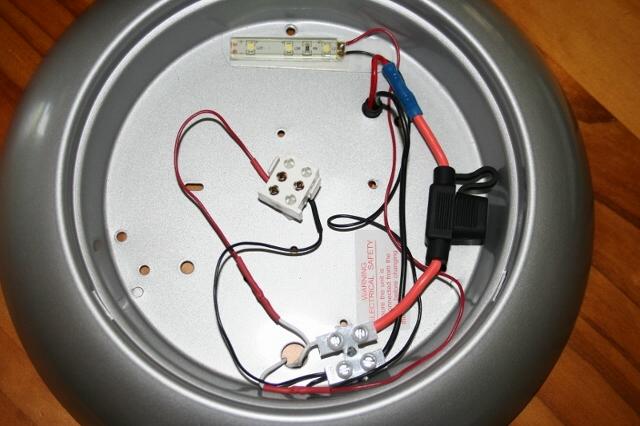
The main fluorescent lights used in the camper
were a bit of a challenge but I found an LED replacement. The lights
have a high and low setting which I wanted to retain.
The LED replacement plugs straight into the
existing flouro socket but you must disconnect/bypass the flouro
ballast first. I elected to remove the ballast altogether but the
socket for the replacement light was mounted on the circuit board.
Out with the butane torch and carefully remove the socket from the
circuit board without destroying it.
Luckily once the solder melted it dropped off
the board.
 |
 |
|
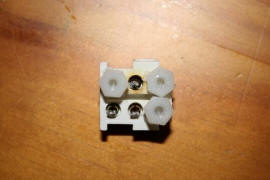
removed light socket |
|
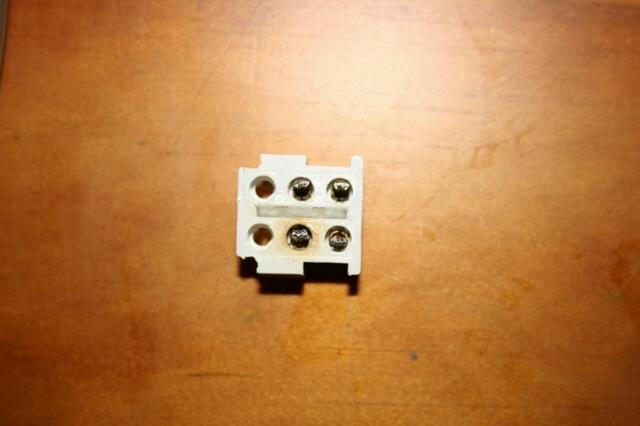
I used the existing standoff insulators from
the circuit board in the pin holes of the socket. Only two pins are
required so I removed one so the insulator could be inserted.
Wires were soldered onto the existing pins. Heatshink tubing was
also used as there would not be much clearance from the metal light
housing. The replacement light is self sensing so it does not matter
which pin is used for + and -.
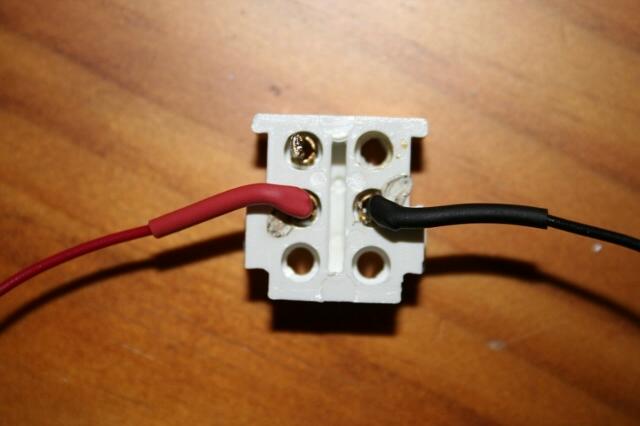
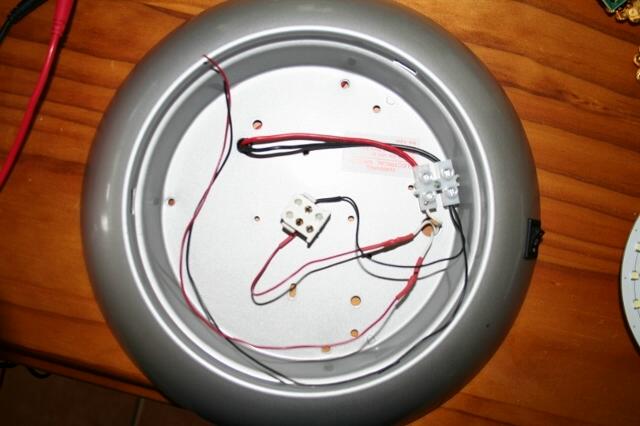
The wires were connected up to the existing
switch wires. Holes drilled in housing to screw standoff insulators
to housing base. One pin on the new LED light had to be cut off as
there was a standoff in the socket. The second set of wires are for
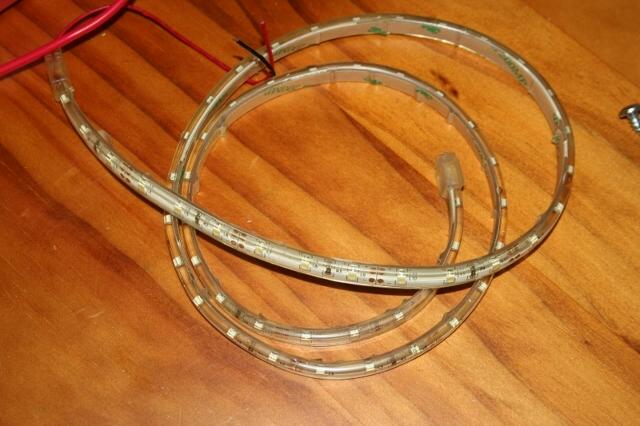
a small strip (3) of LED lights for the low setting of the switch.
These came from a self-adhesive LED roll. These can be cut into
smaller strips every 3rd LED.
This proved quite difficult to do as you have
to carefully peel away the protective plastic cover and then solder
wires onto the rather small + and – connection points. I decided to
add a 5Amp inline mini blade fuse just in case. The light circuit
has a 20A fuse but would rather lose one light due to failure/short
rather than all.
 |
 |
|
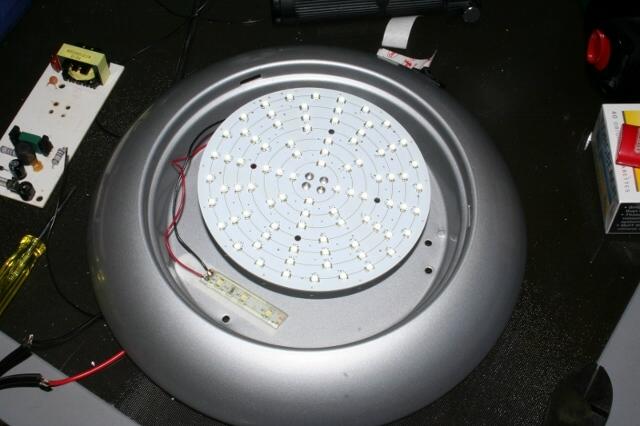
the finished
light minus the diffuser cover |
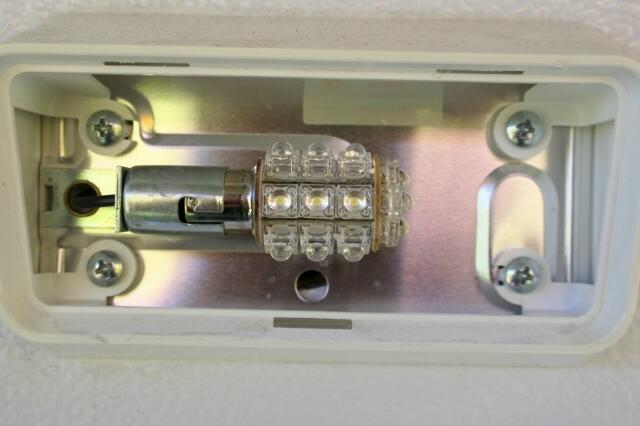
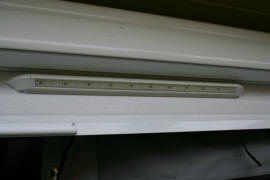
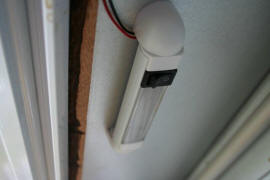
The existing awning light, while the LED bulb
is bright, is quite low so I purchased one of these 600mm awning
lights and installed it under the wind out awning on the roof. This
now lights up the area very nicely and only uses 0.5AH. The wires
run down inside the canvas wall that velcos to the door frame, It’s
out of sight there.
 |
 |
|
awning light
globe was replaced with an LED |
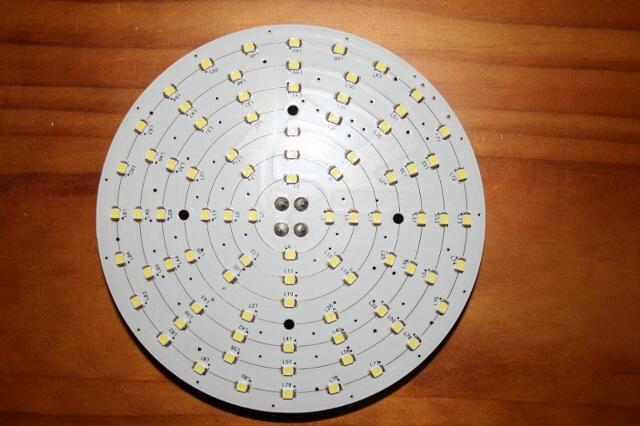
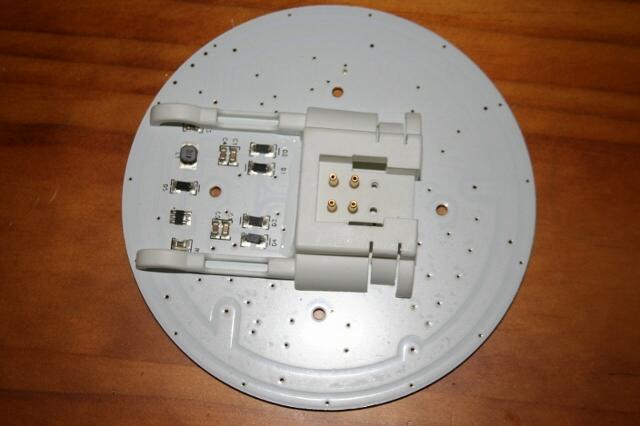
600mm awning
light |
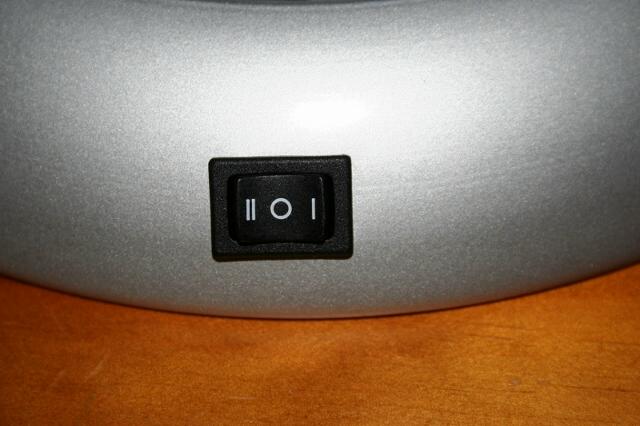
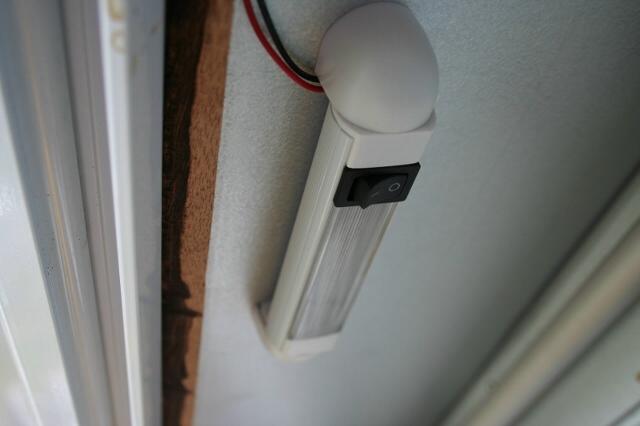
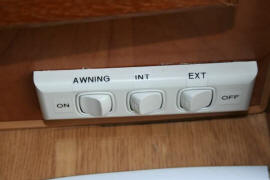
I replaced the existing 2 gang switch for the
lights with a 3 gang to handle the new awning light. I also
installed a small LED light in the front boot.
 |
 |
|
switch |
LED in boot |
All LED replacements are brighter than the
originals and use significantly less current. Measurements below are
via the PL20 load meter.
| type |
previous amps @
12.7volts |
LED amps @ 12.7volts |
| bed lights each
|
1.5
|
0.2 |
| main lights (high) each
|
1.2
|
0.5 |
| mainlights (low) each
|
0.3
|
too
low to measure |
| existing awning light
|
1.0
|
0.1 |
| boot light |
|
0.1 |
| awning strip light
|
|
0.5 |
If all lights are on then the total current
usage is 2.1 amps.
Total cost of LED lights was less than $300. Not cheap but benefits
are worth the money. All lights were sourced from DSS and Springers
in Qld. The Flouro LED replacements (x2) were $58 each, the awning
light strip was around $88 and the boot light around $25. The LED
bed light replacements (x2) were $18 each and the awning light LED
globe $22.
Thanks to Kevin Beckwith for this article
january
2012
|