|
|
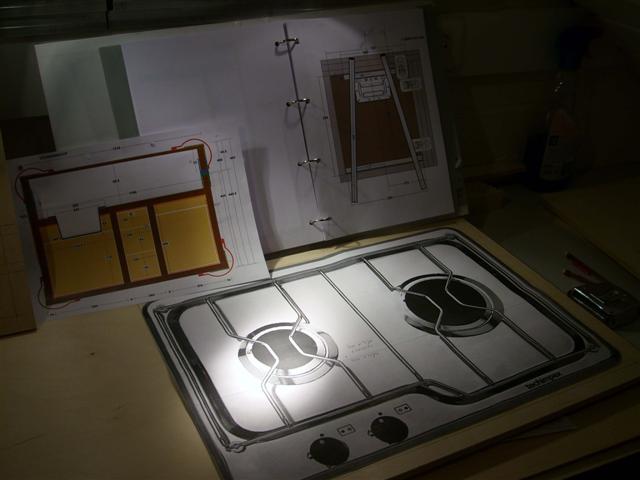
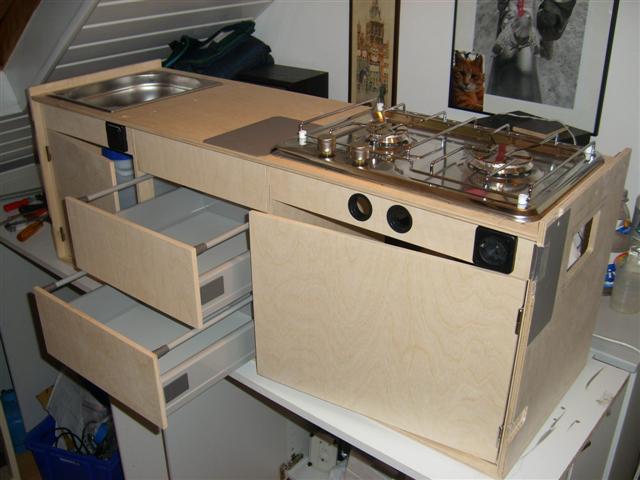
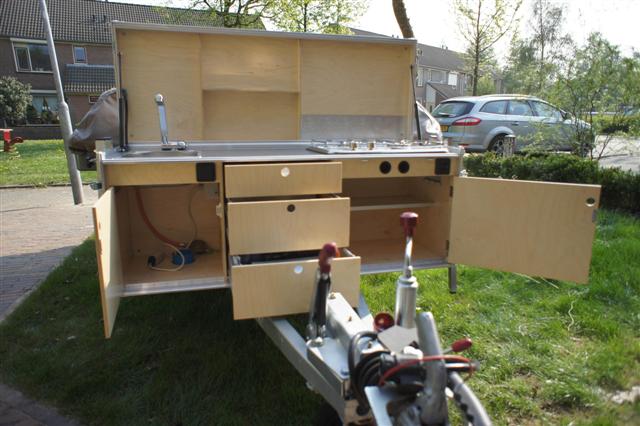
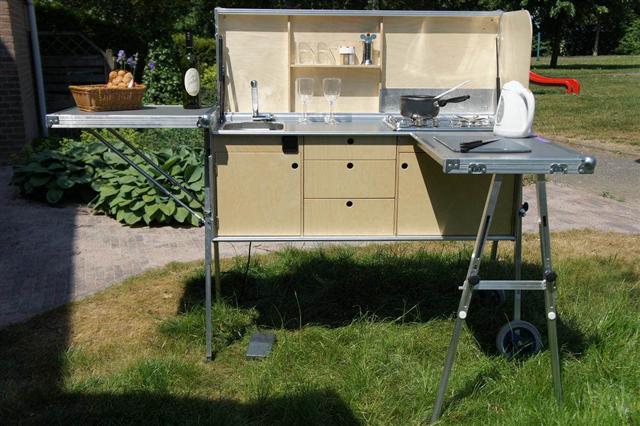
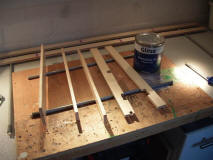
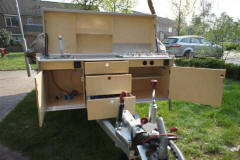
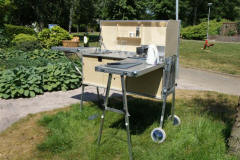
First I
decided how big it could be. Then I started the
search for the hob, the water tank, the drawers and
the sink. They all had to fit in! |
|
|
|
 |
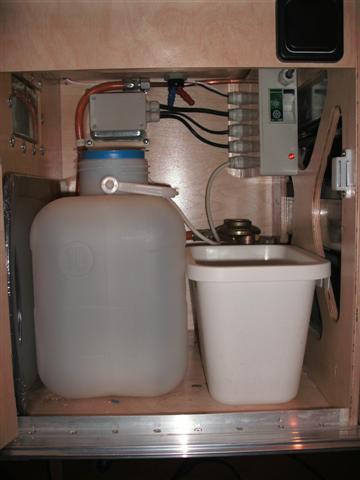
The water
tank gave me some headaches. I just could find the
right size for the right room in the kitchen. I
ended up with a 10 litre tank. This is enough for a
day or two. |
|
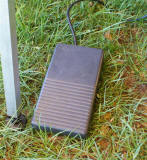 |
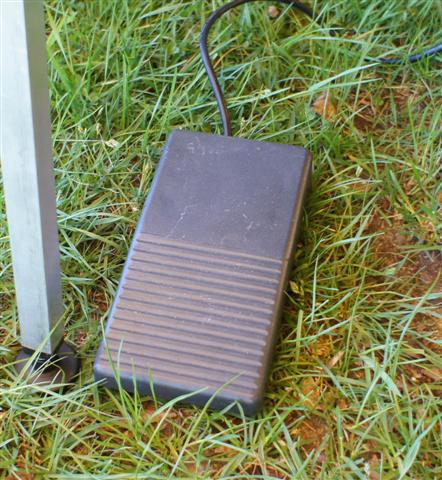
I foot
switch for the pump reduces the water running time
each time I use the tap. |
|
|
|
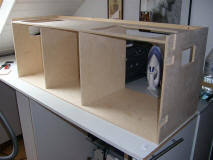 |
I am not
familiar with AutoCAD or other cad software so I
designed the kitchen in MS paint. Because I wanted
the kitchen to be sturdy I made it like a flight
case with aluminium extrusions. The major parts are
made of 9mm plywood, the others of 4mm. First I made
the wooden box. |
|
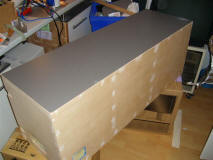 |
I both glued
and screwed the parts together to make it real
strong. I cut the holes for the handles, sink, hob,
tap, locks etc. Then I used contact adhesive to
cover the outside of the kitchen with HPL - High
Pressure Laminate. |
|
| |
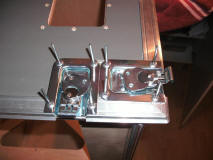 |
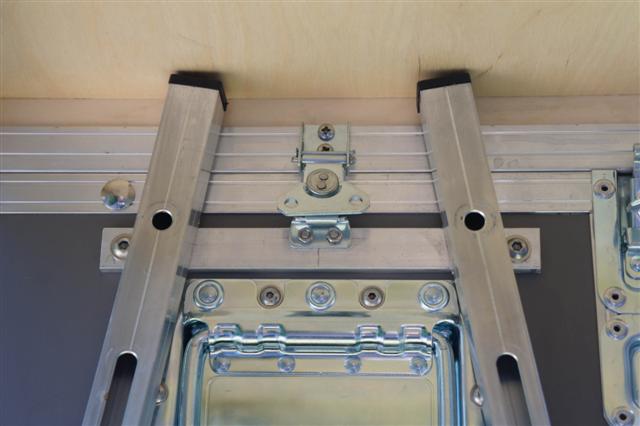
All the
seams were carefully varnished to make them
watertight. Then I mounted the extrusions and locks
with silicone glue and rivets. |
|
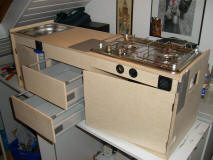 |
The drawers actually come from
IKEA. |
|
| |
 |
I varnished all the wood faces
multiple times. |
|
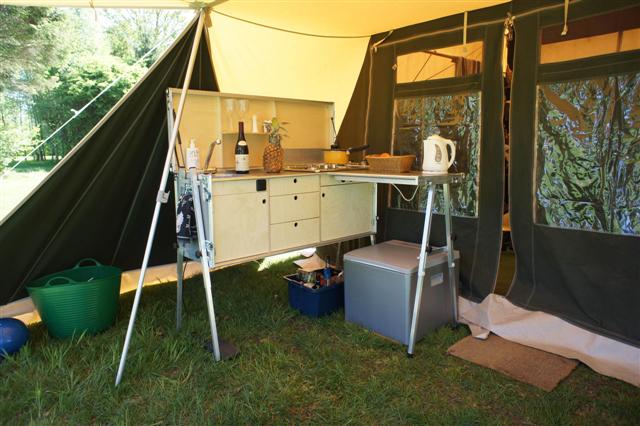
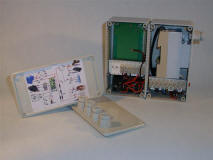
Special
project was the electric supply. I wanted the
kitchen to have dual power possibility: by car
battery or mains supply. The electric unit was born.
|
I used a
laptop power supply to deliver 12 volts @ 5 Amps to
drive the water pump and LED lighting. A relay
automatically switches from battery to mains once
mains is connected. |
 |
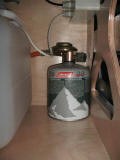 |
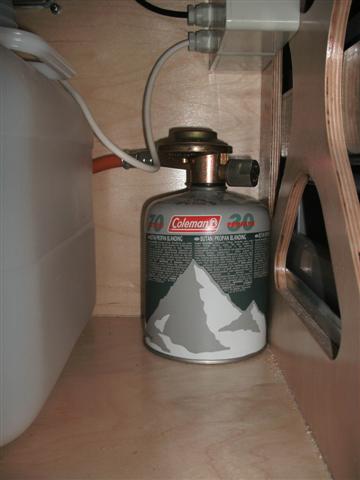
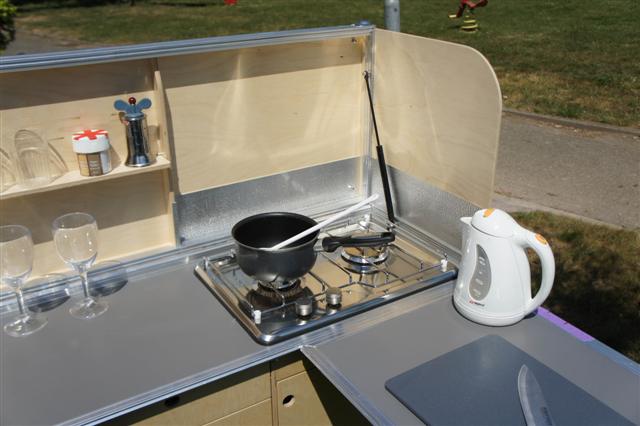
The gas tank
on the picture is in fact not capable of delivering
enough gas to keep the two burners running maximum:
it simply freezes. I made a quick release solution
so I can hook up a bigger tank and pressure reducer
to overcome this problem.
|
|
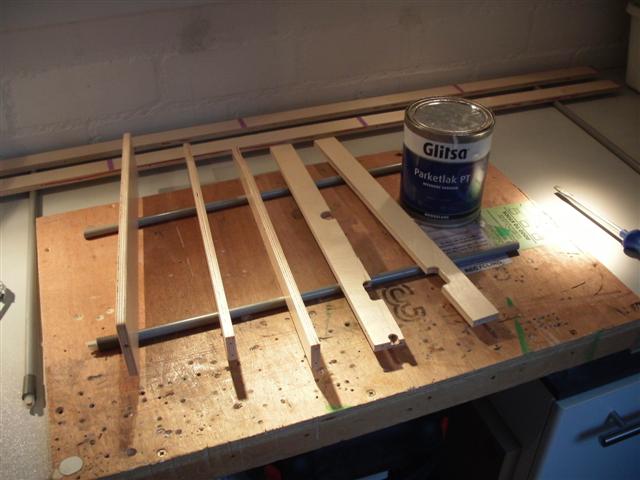
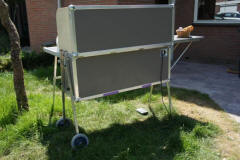
|
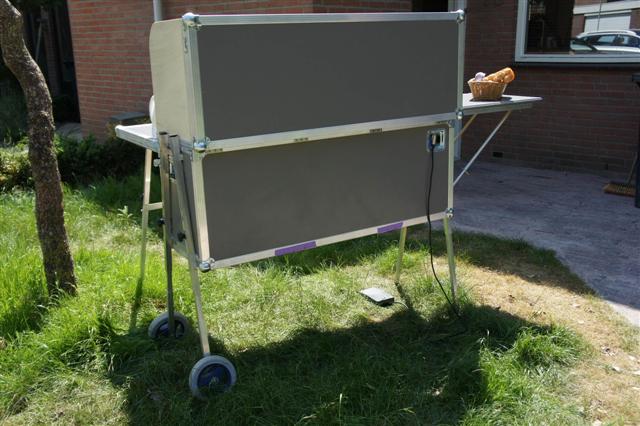
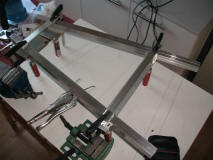
The legs are
a completely different story. They had to be
extendable. It was not easy to make them. The
hardest was to put them together. I don't have an
aluminium welding option so I "soldered" the parts
together with some special stuff that really does
the job. |
 |
The legs are
detachable from the kitchen as well to make it
easier to put the additional rain cover over the
kitchen while it is mounted on the trailer. |
| |
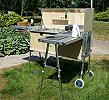
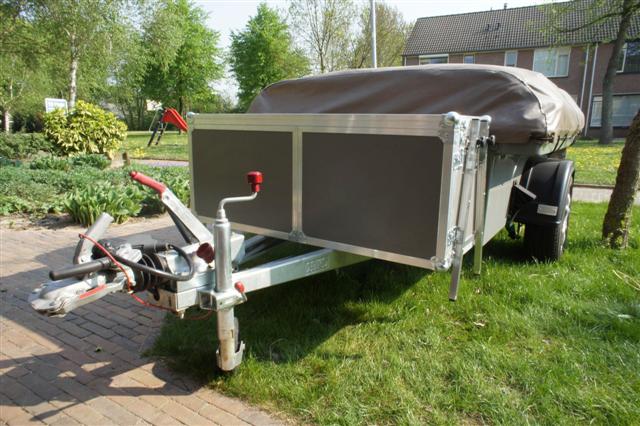
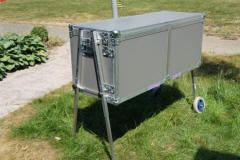
Once put
together it looks like a closed box. Both front
covers create loads of worktop area and I can choose
which I want to use and attach to the kitchen. |
 |
|
 |
 |
 |
|
 |
 |
 |
|
 |
 |
 |