|
5kw portable
diesel heater
for the
camper trailer
 |
|
keeping warm with a diesel
heater in the soft floor camper trailer |
With a two month trip coming
up at the end of winter, we decided to buy a portable diesel heater
for warmth in our soft floor camper trailer at night, especially
when travelling by ourselves or when the weather was wet & cold. The
purchase was not intended to put an end to our Ozpig use as we
love to sit around the fire, cook & also boil water for a shower when there is
not enough heat in the sun to warm the solar shower bags.
I have been a member of two diesel heater Facebook groups for
some time gaining knowledge on how they work, what to look
for when buying as well as fixing common faults that may arise. An
all in one portable diesel heater & fuel tank seemed the way to go as there was
nowhere to place an
inbuilt model in our soft floor camper trailer. I have seen some
locate the heater unit into the tool box on the A-frame of a soft
floor camper trailer, however we
only have a jerry rack across the front of our trailer. Luckily the
two slide-out
storage boxes in the box trailer had room for the heater to be
stowed when not in use.
There are basically two designs, one has the heat exchanger with the
fuel tank beside it, while the other has the fuel tank on top making
it narrower, but higher which would fit in the storage boxes better.
After searching the internet for something suitable we bought a generic no name brand
5kw diesel heater online for $230. Also a business that offered
warranty was more appealing, rather than from a random Ebay store
that could be here today & gone tomorrow.
 |
 |
 |
|
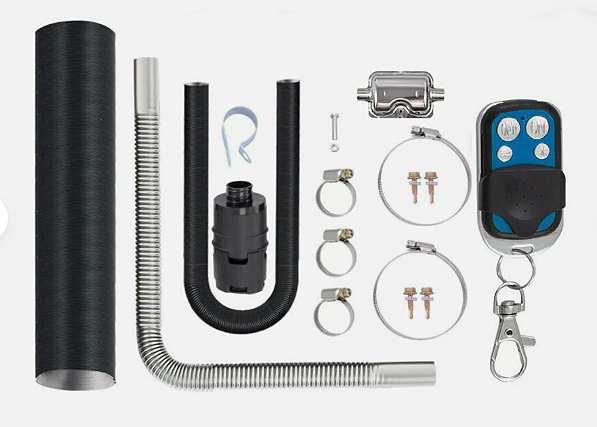
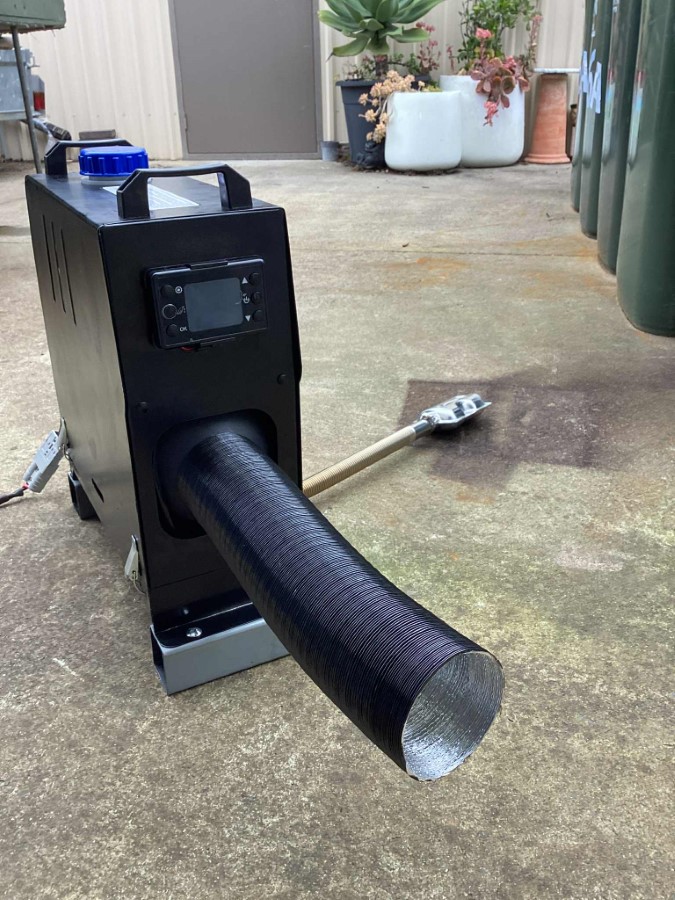
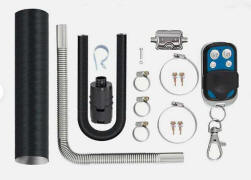
portable diesel heater |
external parts & hardware kit |
cover
removed |
assembly
The 5kw heater arrived with all external parts & hardware ready to
assemble including an instruction booklet.
I found this video a great help to assemble the heater parts https://www.youtube.com/watch?v=GrDiJFdaID8&t=16s
First job was adding a length of 40x40mm RHS at each end giving the air inlet &
exhaust outlet room underneath the unit for the pipes which
proved to have another handy use in routing a stainless steel
lanyard to prevent someone walking away with the heater.
The air inlet pipe was placed through a hole in the back panel of
the steel box, the air cleaner attached & zip tided into place.
Seeing the heater was to be sitting on the ground in the dust, I
opted to upgrade the air filter to a paper element type rather than
the expanded plastic mesh filter that came in the package.
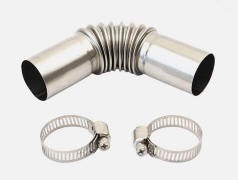
I added a purpose made 90 degree stainless steel pipe bend with a
hose clamp on the exhaust outlet pipe under the heater box. I could
now easily fit & remove the exhaust pipe with muffler when storing
the heater.
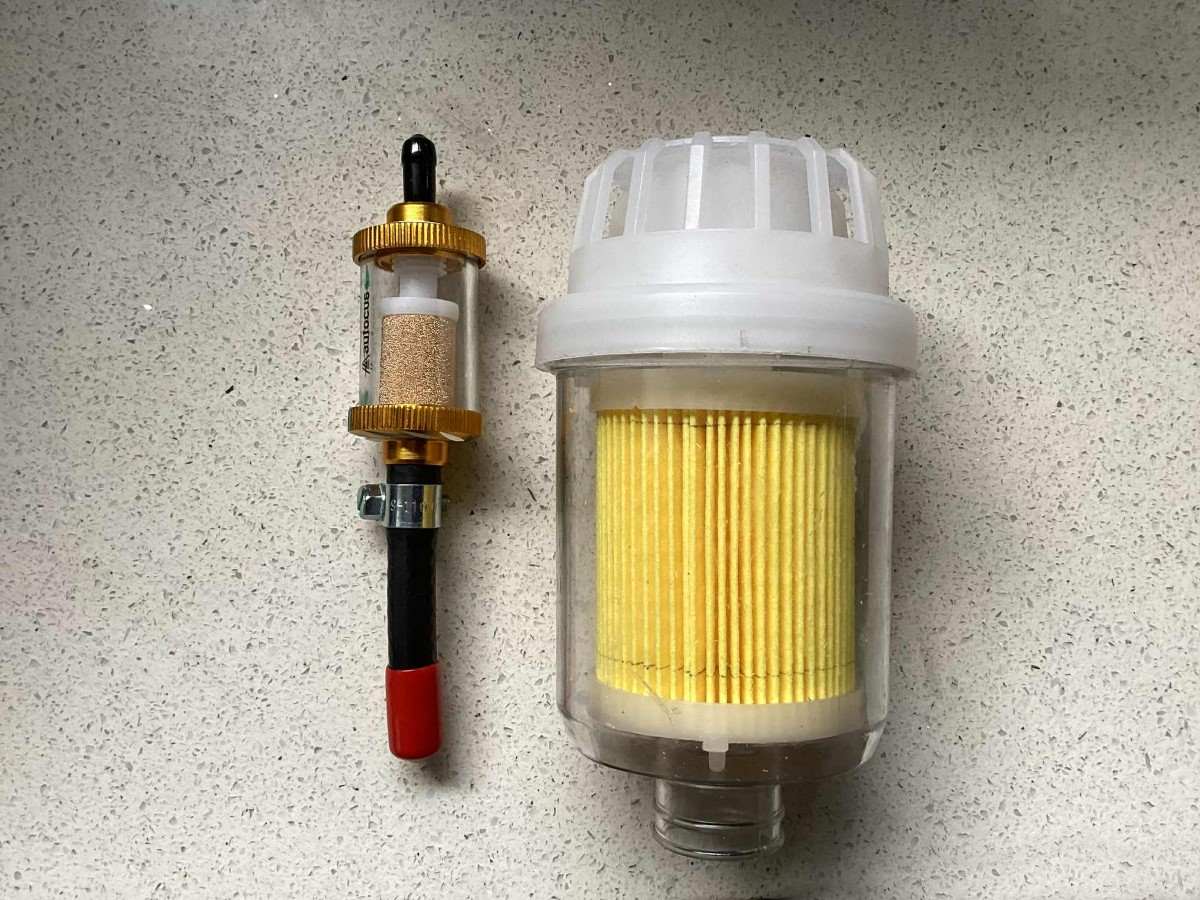
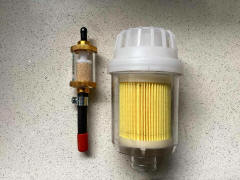
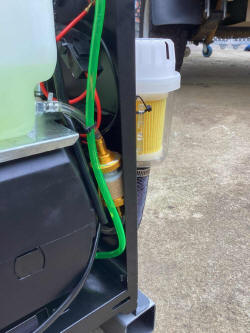
There was no fuel filter in the kit for the five litre diesel tank, so I bought an inline fuel
filter that could be disassembled to clean, installing it between
the fuel tank & fuel pump.
For the short 12volt run
I used a 50amp Anderson connector with 6mm auto cable instead of a
cigarette plug to give a more positive power connection. It is
important the correct
wire size is used over the length between the heater & the
battery as the heater draws 10 amps for a few minutes during startup, then runs at 1 to 2 amps during use depending on the heat
setting.
https://www.solar-wind.co.uk/info/dc-cable-wire-sizing-tool-low-voltage-drop-calculator
A longer 75mm diameter flexible heater outlet duct that expands to two metres was also purchased to give the heater more flexibility on
where it could be placed.
The heater started first go & we were very impressed with the heat.
 |
 |
 |
|
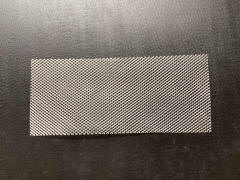
original air filter |
original air filter gauze |
fuel
filter & replacement air filter |
 |
 |
 |
| 90
degree exhaust pipe bend |
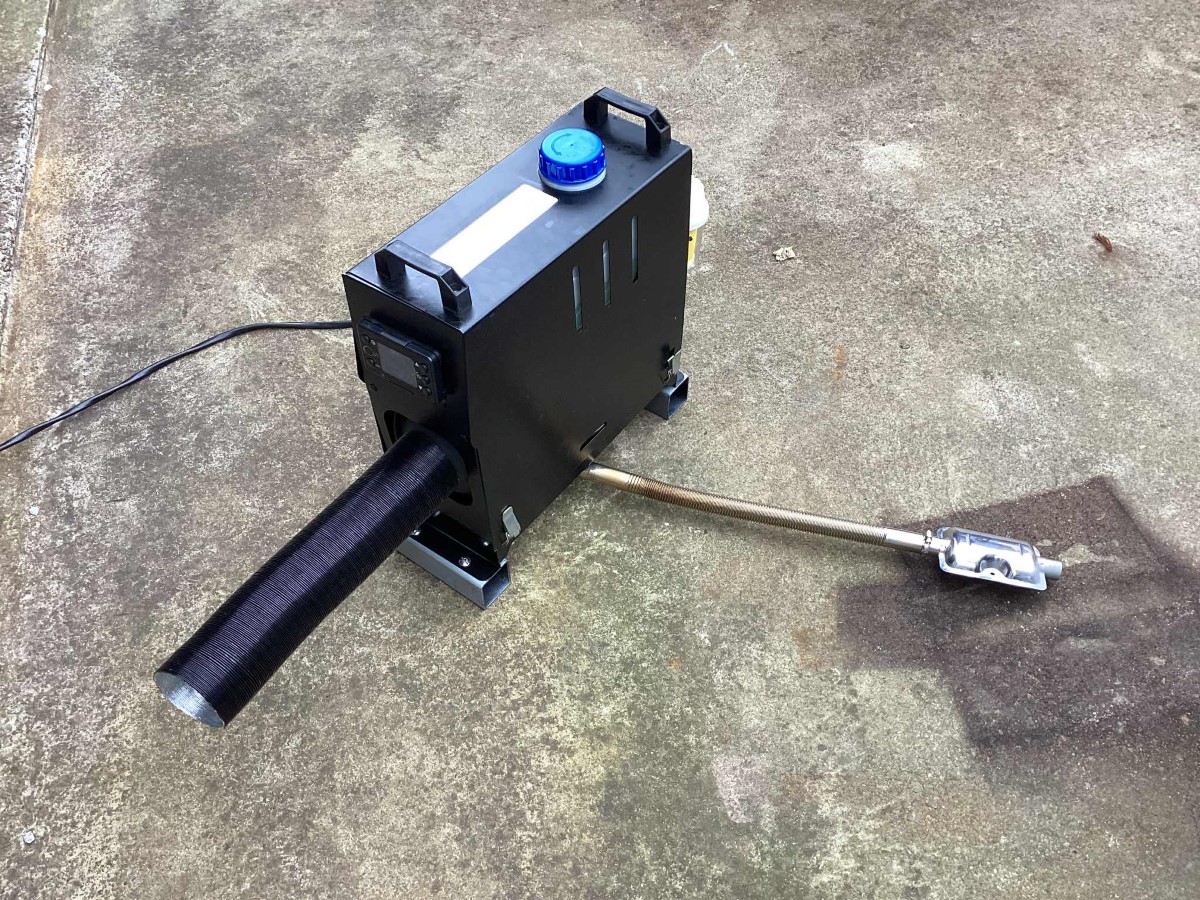
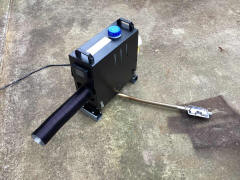
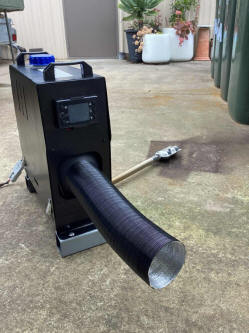
set up
ready to go |
2
metre max expandable heater duct |
 |
 |
 |
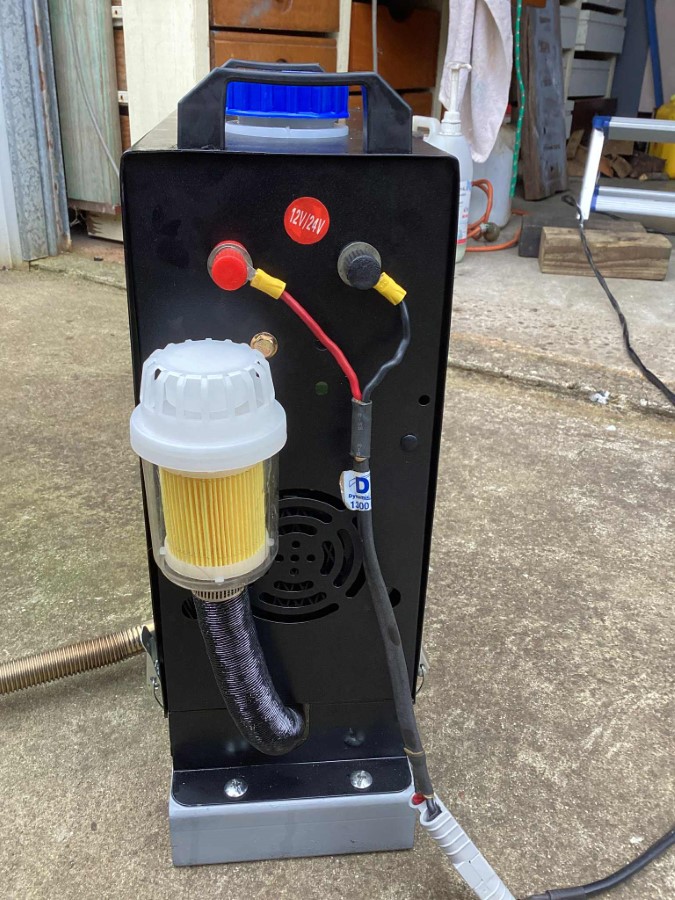
| air
filter placement |
fuel
filter placement |
original hot air outlet duct |
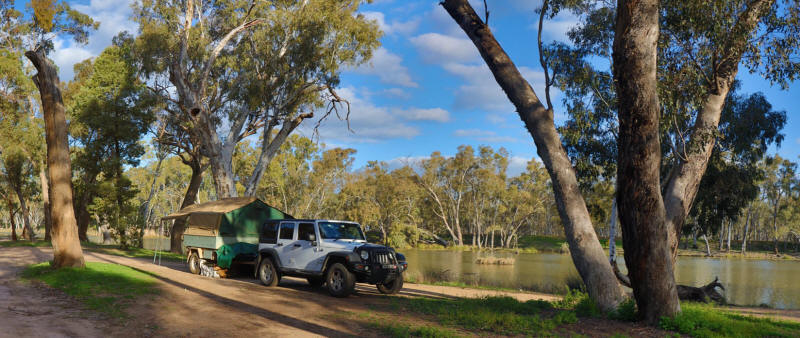
in
the bush
The 5kw heater is easy to set up, just connect the power lead, exhaust
pipe & hot air duct, really not much different time wise to setting up a solar
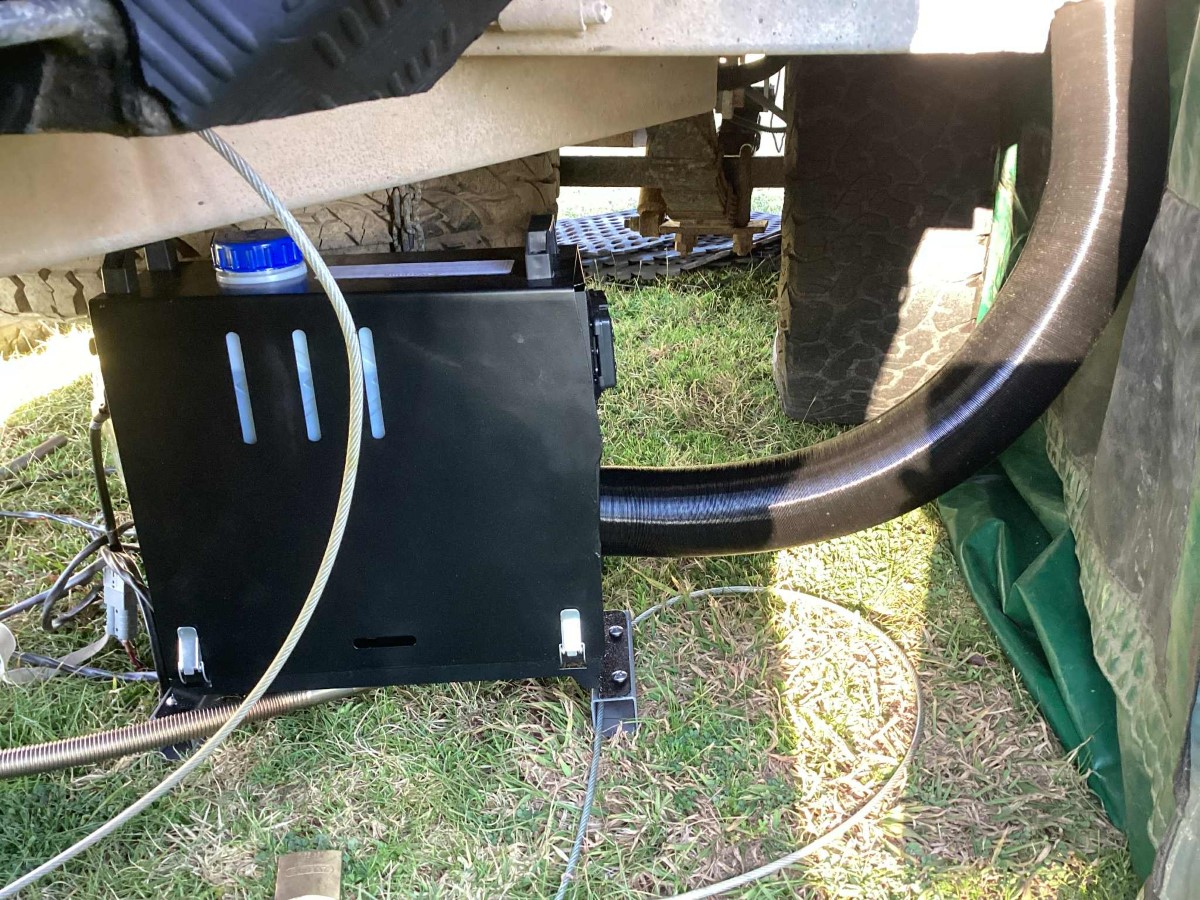
panel. The portability gives us the option of placing the heater under
the awning & poking the heater duct through the bottom of the door
or as most camps were two or more nights on this trip, the heater
was placed under the trailers A-frame with the heater duct through
the zippered vinyl fuse box access panel & a towel wrapped around it
so the heat would not damage the vinyl. This worked extremely well.
The exhaust pipe was pointed away from the camper.
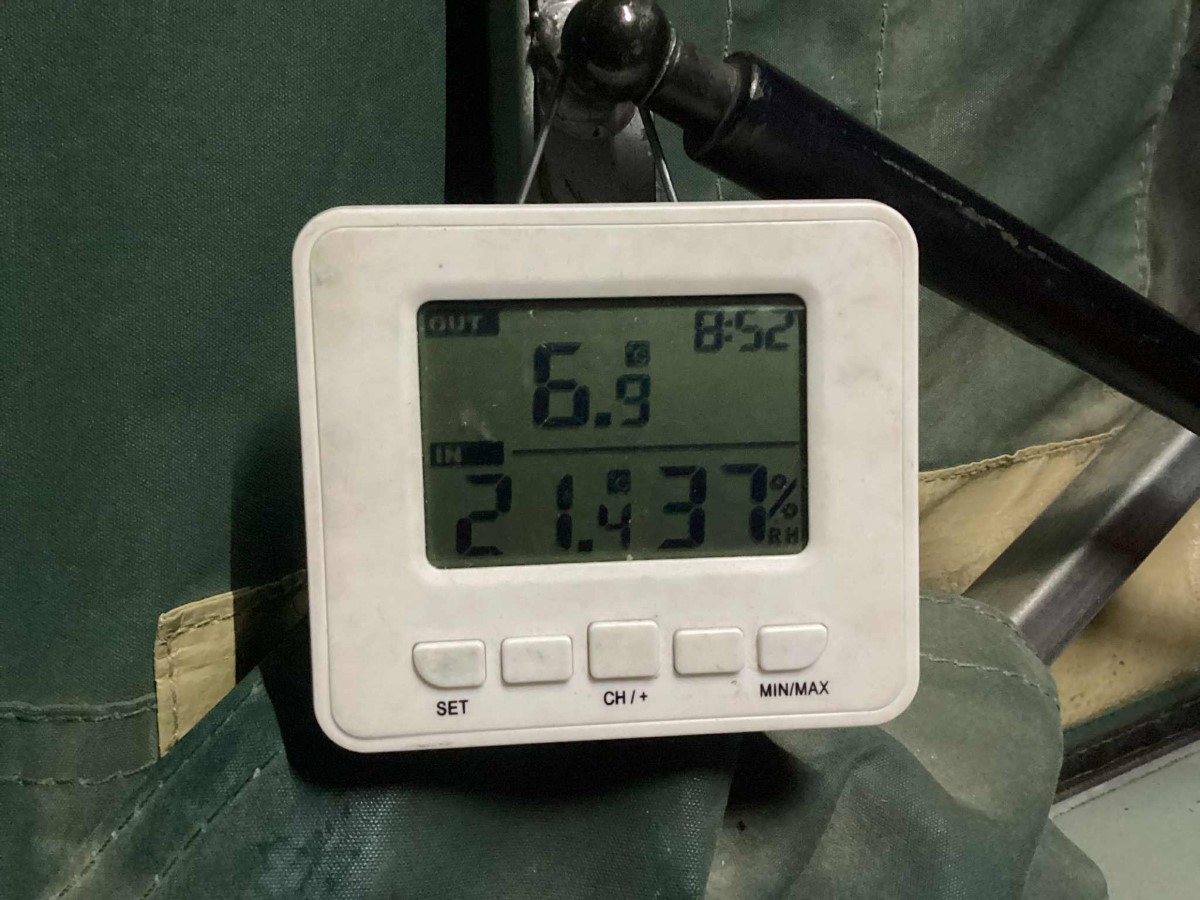
We only used up to heat setting three of the six settings available during the
cold single figure evenings as the heat builds quickly inside the
closed tent. Our bed is warm so the heater is not required to run
all night. The side wall of our camper trailer has a full height
drop down clear vinyl window covering that allows
us to sit inside & see out during the day in bad weather. One day it
was snowing nearby with a maximum temperature of eight degrees.
Inside we were warm & cozy, out of the strong gusty bone
chilling wind with
the thermometer sitting on twenty degrees. We were amazed the heater
only used just over three & a half litres in twelve hours on heat setting
two.
The remote is handy as we can warm the tent up for ten minutes
before we get out of bed on those zero degrees frosty mornings.
Bonus.
We carried a ten litre jerry of diesel with us & I filled the
heaters five litre fuel tank before moving on. The jerry was
refilled when we dropped into a service station to fuel our vehicle.
Overall the 5kw diesel heater performed without fault over two months &
was a very welcome addition for travelling in the cold weather, also
another benefit was not having to have firewood on hand at all
times. Before leaving on the trip I used the heater to take the
chill off the air when working in the double garage as the BOM said
it felt like four degrees.
We bought a funnel with a fine gauze as no matter how careful I was
filling the tank from the jerry, dirt ended up on the bottom of the
heaters tank. The intake tube is positioned above the bottom.
article by
Rob
december 2025 |