|
DIY 12 VOLT
TRAILER
WIRING
the 12 volt
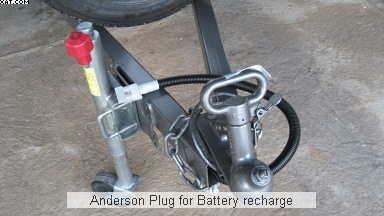
The first step in this 2 day project was to solder a Anderson Plug to
one end of the 6B&S cable and then run the wiring through protective
split conduit, up through the draw bar to the floor of the trailer
adjacent to the battery.
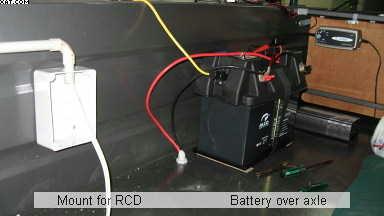
The wiring
came up through the floor and was connected, through a 60 amp maxi
fuse, (since upgraded to 100 amp) to the 120AH AGM Battery.
Note that
both positive and negative wires ran the full length, from the
Anderson Plug to the camper battery. Same as the vehicle . . . full
length from starter battery (through
REDARK battery isolator) to rear Anderson plug. A guide to
cable size can be found at
http://www.campertrailers.org/collyns_page.htm The 120AH Alco AGM
Battery was too high to fit in the large battery box. The lid wouldn't
fit on. Only the lid with the fittings could be used.
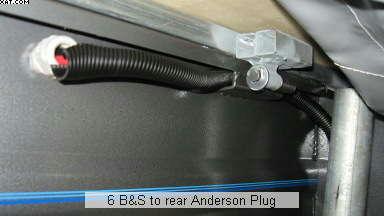
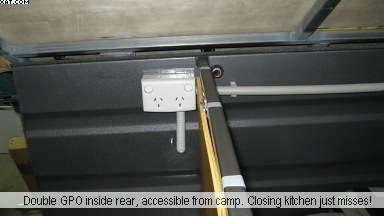
From there
we ran 6B&S wiring, through a maxi fuse, across the top bar at the
back of the swing out kitchen (shown just above CTEK charger), to the
other side as shown in the photo below.
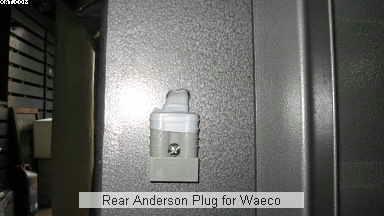
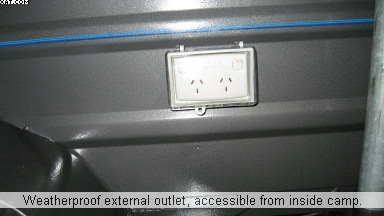
From there,
the 6B&S went out through the trailer side to a rear mounted Anderson
Plug, accessible from inside the annexe to power the Waeco when not at
a powered site.
With the exception of mounting
and connecting the CTEK Smart Charger, that took care of the 12v side
of things. The CTEK plugs into the internal double power point when
necessary.
All
240 volt work was performed by a qualified electrician.
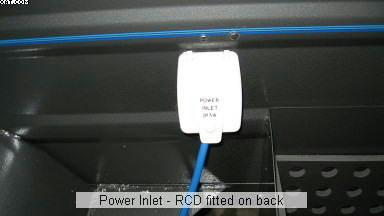
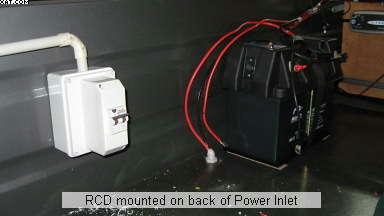
A 240v power
inlet was mounted through the trailer wall . . .
. . . and
the mandatory RCD (Residual Current Device) was fitted to the back of
it.
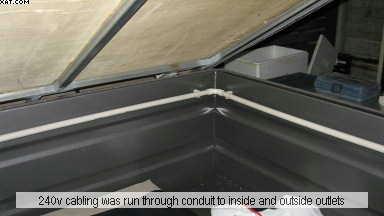
The 240
wiring was then run, through conduit, around the top inside perimeter
of the trailer, to the off side . . .
. . . connecting to a double power point. The wiring was then run down
and through to the outside . . .
This
project was made possible from all I have learnt through the generous
contributions of fellow members of the
Australian CamperTrailers Group. Thank you!
All 240
volt work was performed by a qualified electrician friend of mine.
He supplied all components and fittings etc and charged $240 all up.
Amazing! (I thought $240 for 240v was fitting!!)
I took care
of all the 12 volt stuff. The ALCO 120 Amp/Hour AGM Battery was $348,
the 6B&S wire cost $50 and the Anderson Plug came in at $8. In
addition, the large pre-wired battery box from
Battery World was $80,
(since found BCF Boating, Camping
Fishing outlets have them for around $60) split conduit from
Supercheap Auto was around
$12 from memory. I already had the CTEK 7000 and a 600watt inverter
(not fitted as yet).
So for
around $740 I got a great 12volt AND 240volt set-up! The camper
trailer manufacturer wanted an additional $900 to wire the trailer for
12volt only, which included a smaller battery, thinner wiring and a
couple of cigarette plug outlets!
As a result
we have the best of both worlds. 240volt for most of our stays, (we
are on-roaders) but 12volt to fall back on when needed.
thanks to David Price for sharing this project
with us
|